Creating Student ePortfolio
About Electronic Portfolio
An electronic portfolio is a collection of electronic evidence assembled and managed by a student, usually on the web. Such electronic evidence may include inputted text, electronic files, images, multimedia, blog entries and hyperlinks. Students can document, reflect and present their learning processes. Therefore, different media forms and services are offered. To summarize, an e-portfolio can be seen as a type of learning record that provides actual evidence of achievement. The student himself controls which information is collected and who is permitted to see it. In moodle, the exabis e-portfolio is an extra module which allows the user to create and administrate personal portfolios. Students can collect documents, notices, and links in their portfolio and - if applicable - publish them.
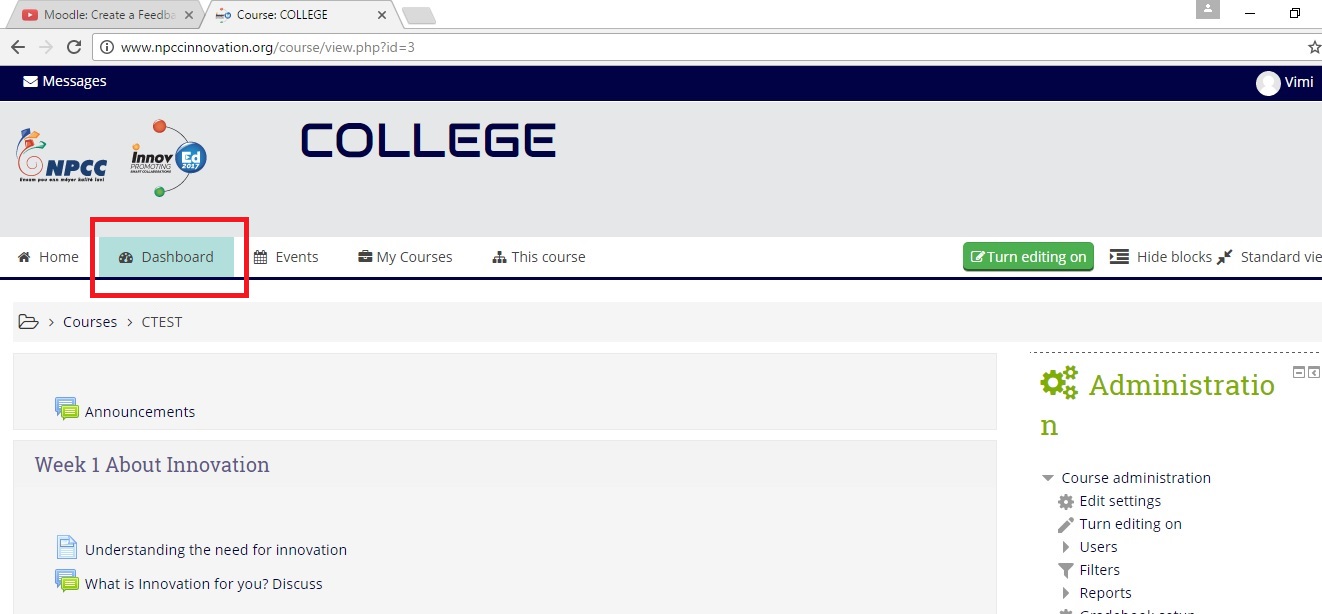
Step 1: Click on Dashboard
Step 2: Click on 'customize this page'

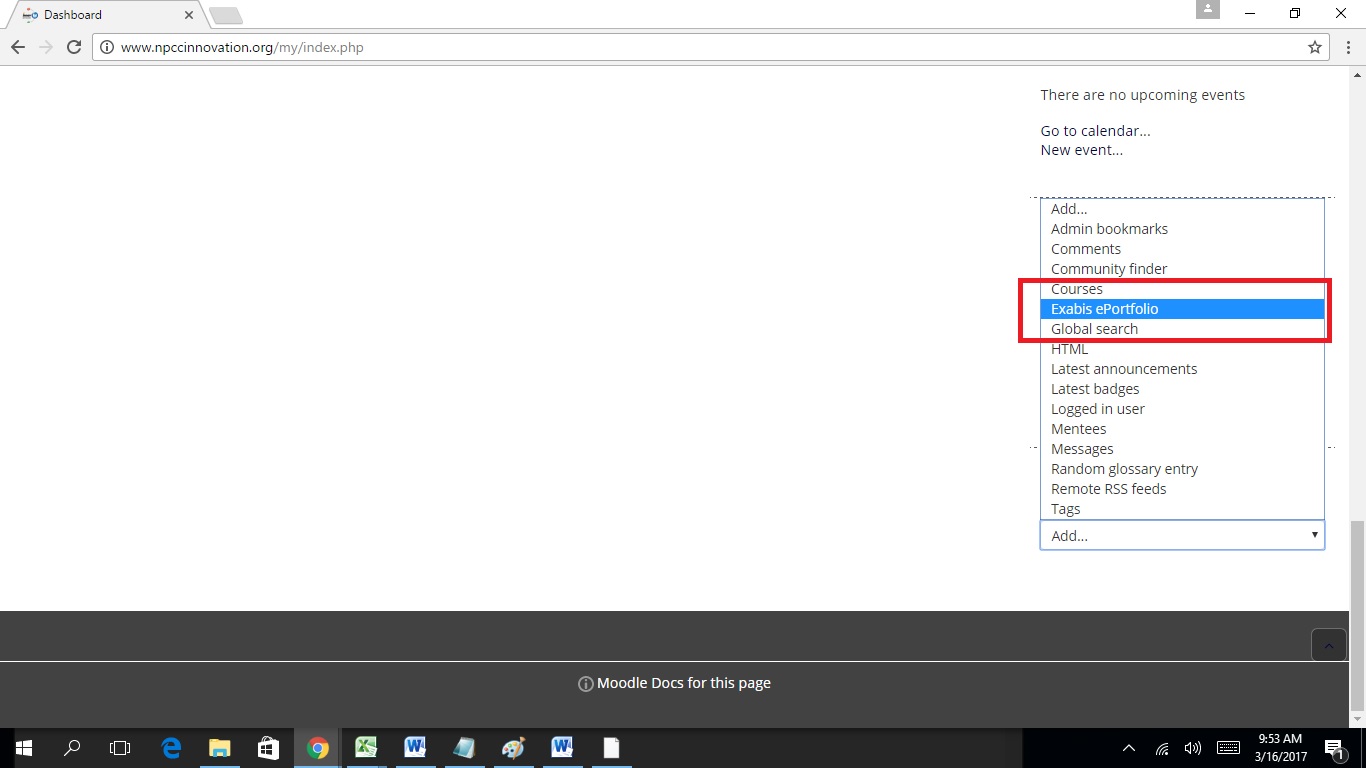
Step 3: In the next step, choose “Add a block“ -> “Exabis E-Portfolio“ in the right navigation bar.
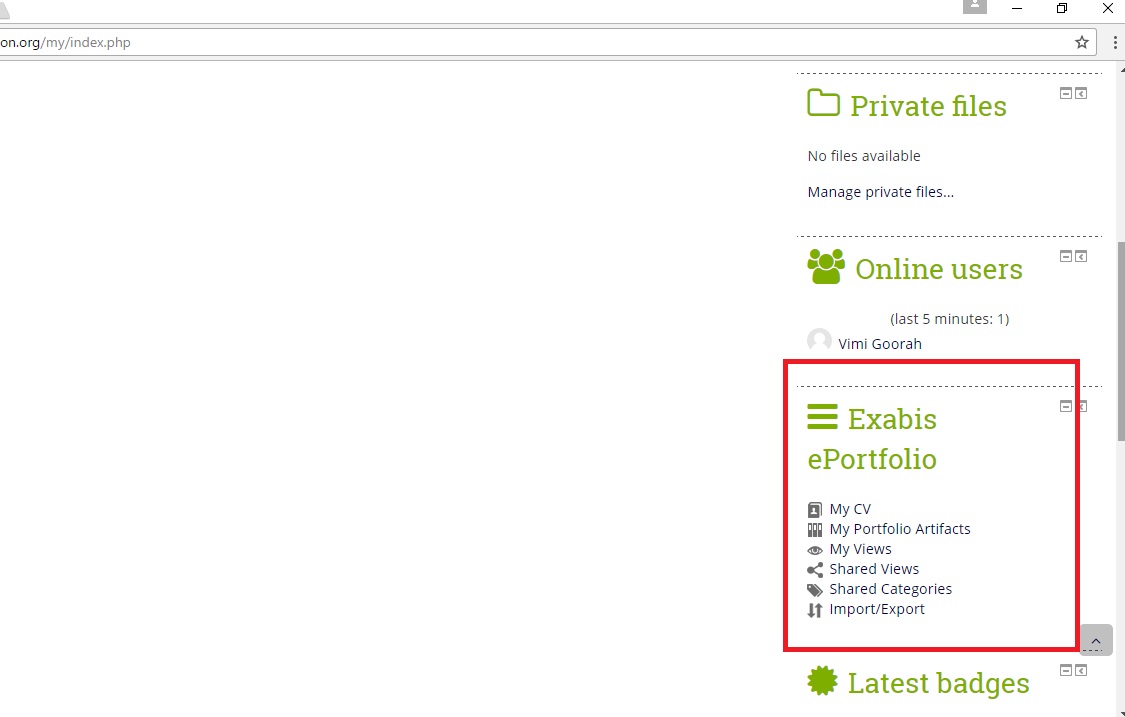
Step 4: After clicking on Stop 'Customising this Page' -> Go to the Exabis ePortfolio block
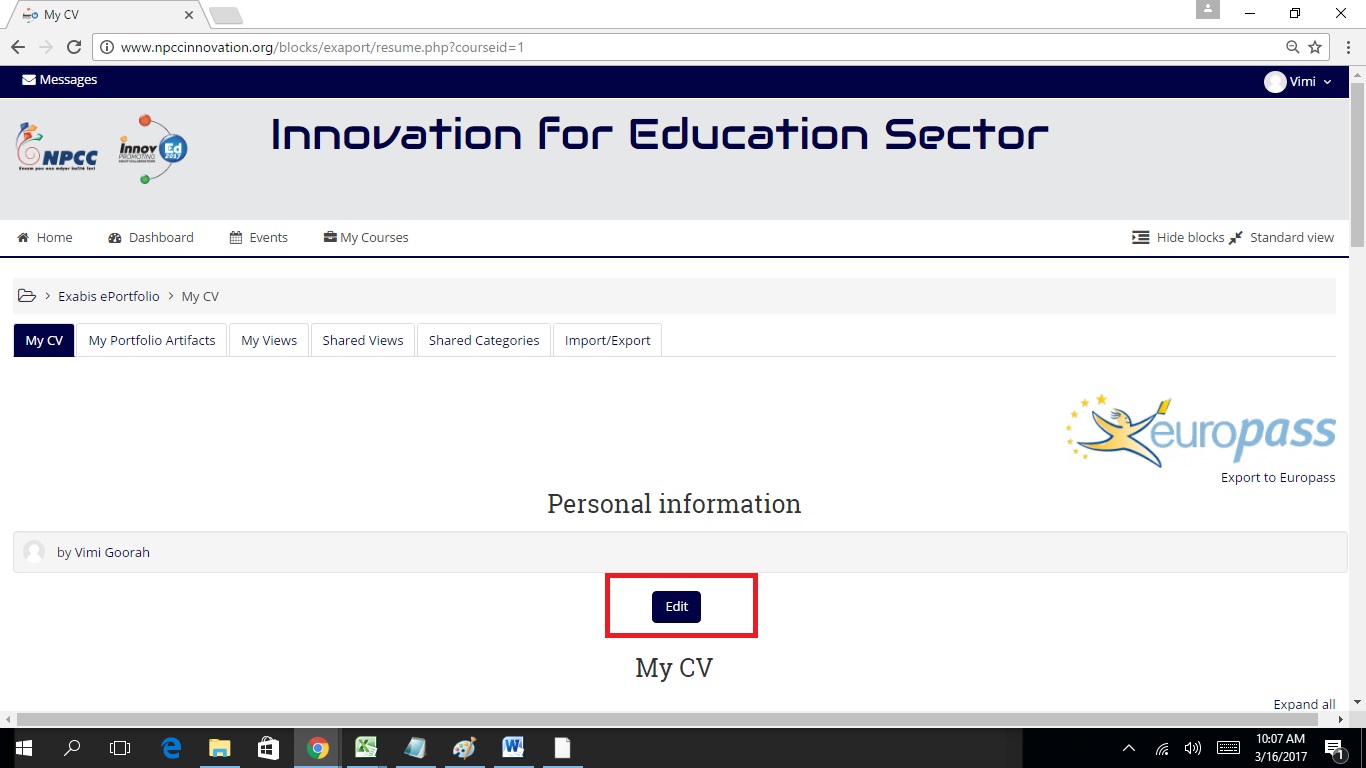
Step 5: Click on MyCV to open your ePortfolio and click on Edit
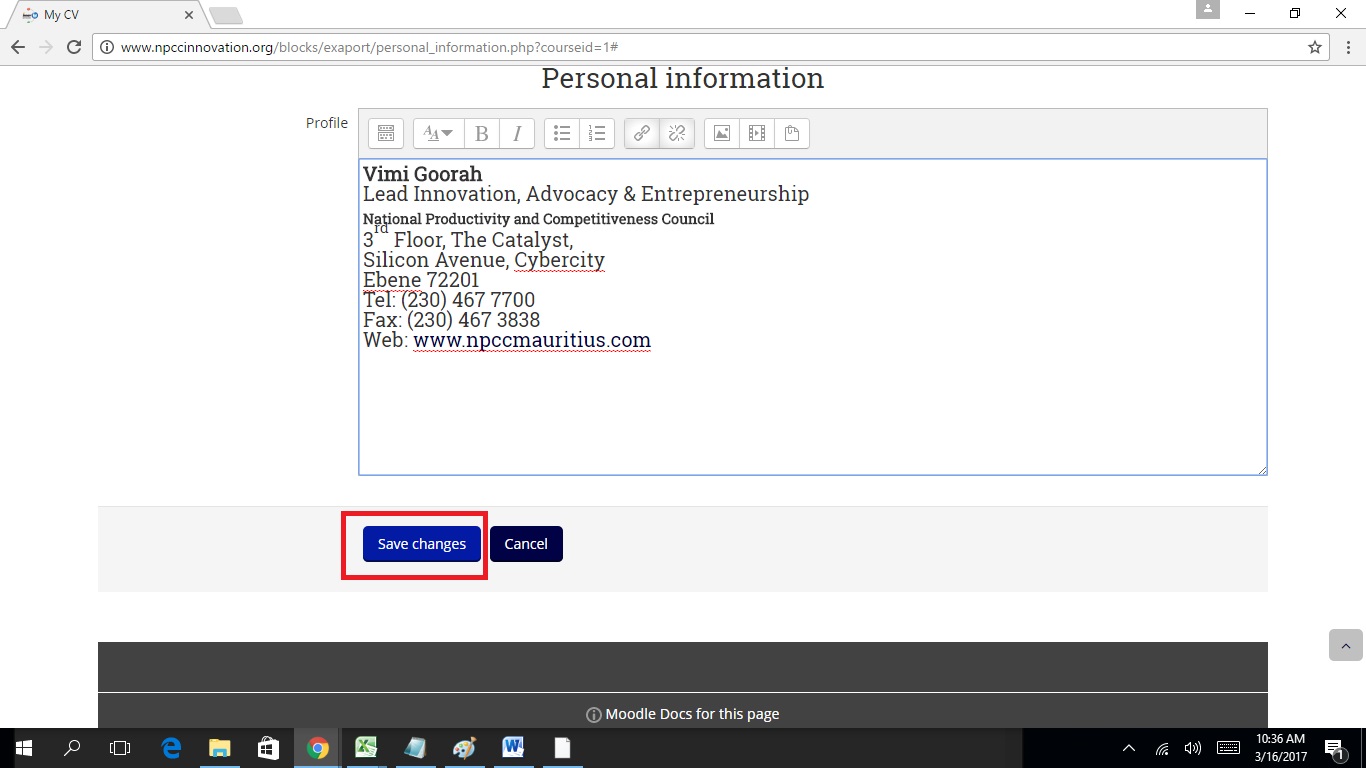
Step 6: Student enter details about himself/herself in the Personal Information editing area and click on Save Changes
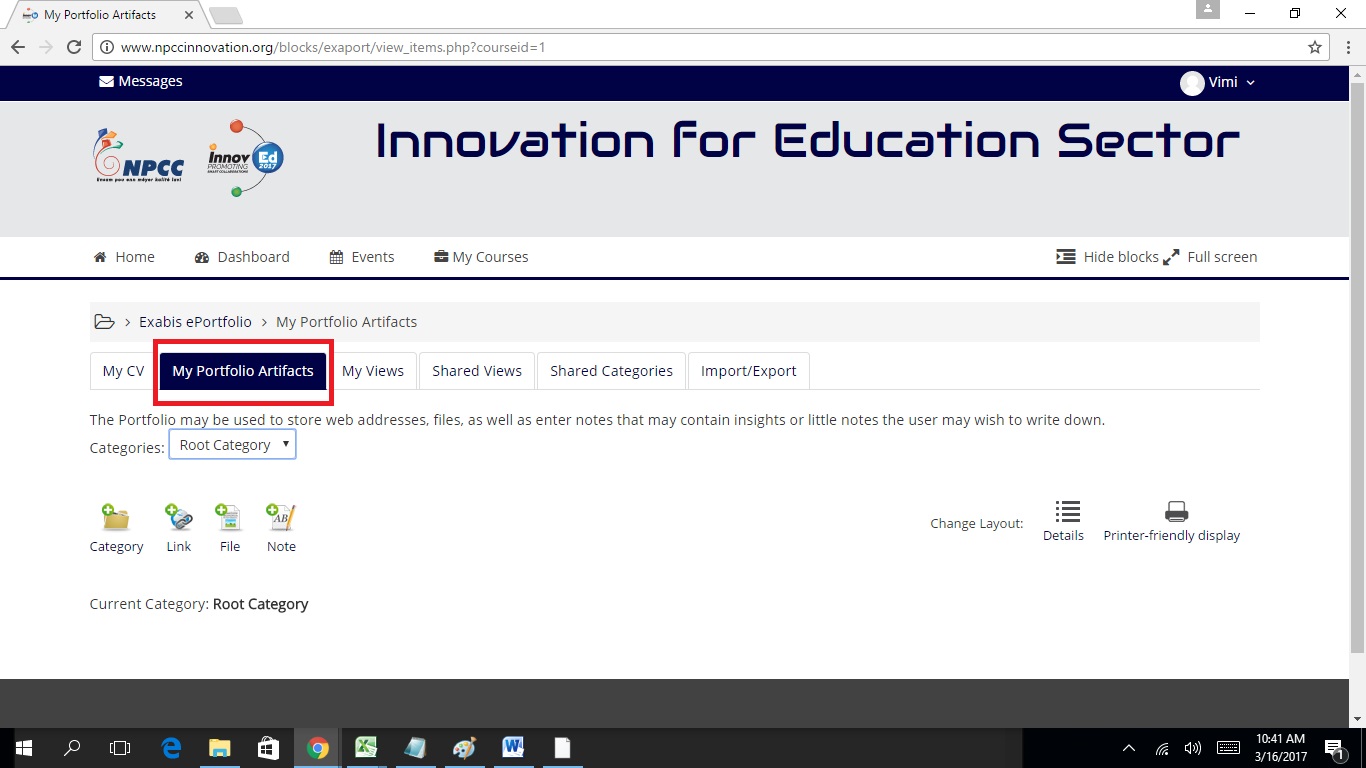
Step 7: Click on My Portfolio Artifacts - this section enables students to keep all their works on the platform
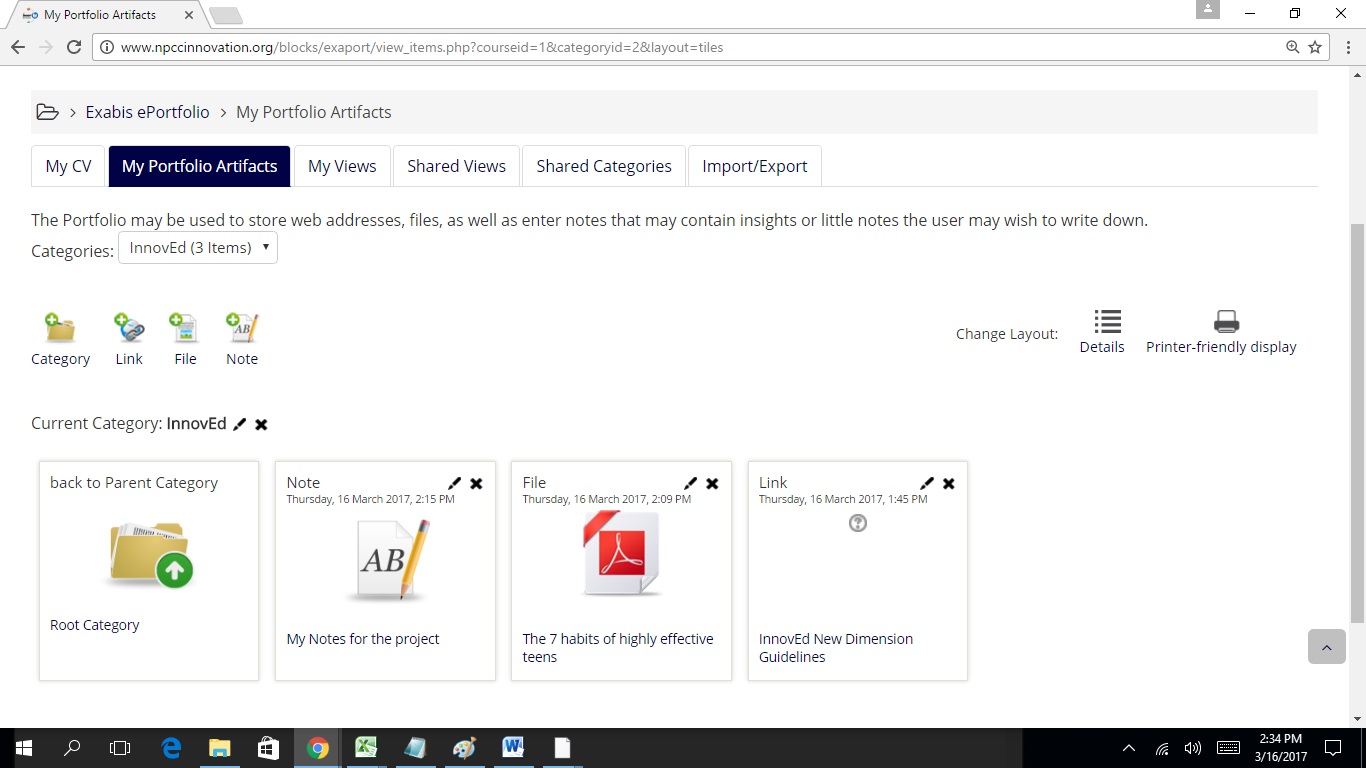
In your portfolio, you can collect electronic files, links to external web pages (i.e. youtube, etc.) or notes. To keep one’s portfolio structured, links, files and notes have to be kept within a category-system. The content can be either displayed in a list or in tiles.
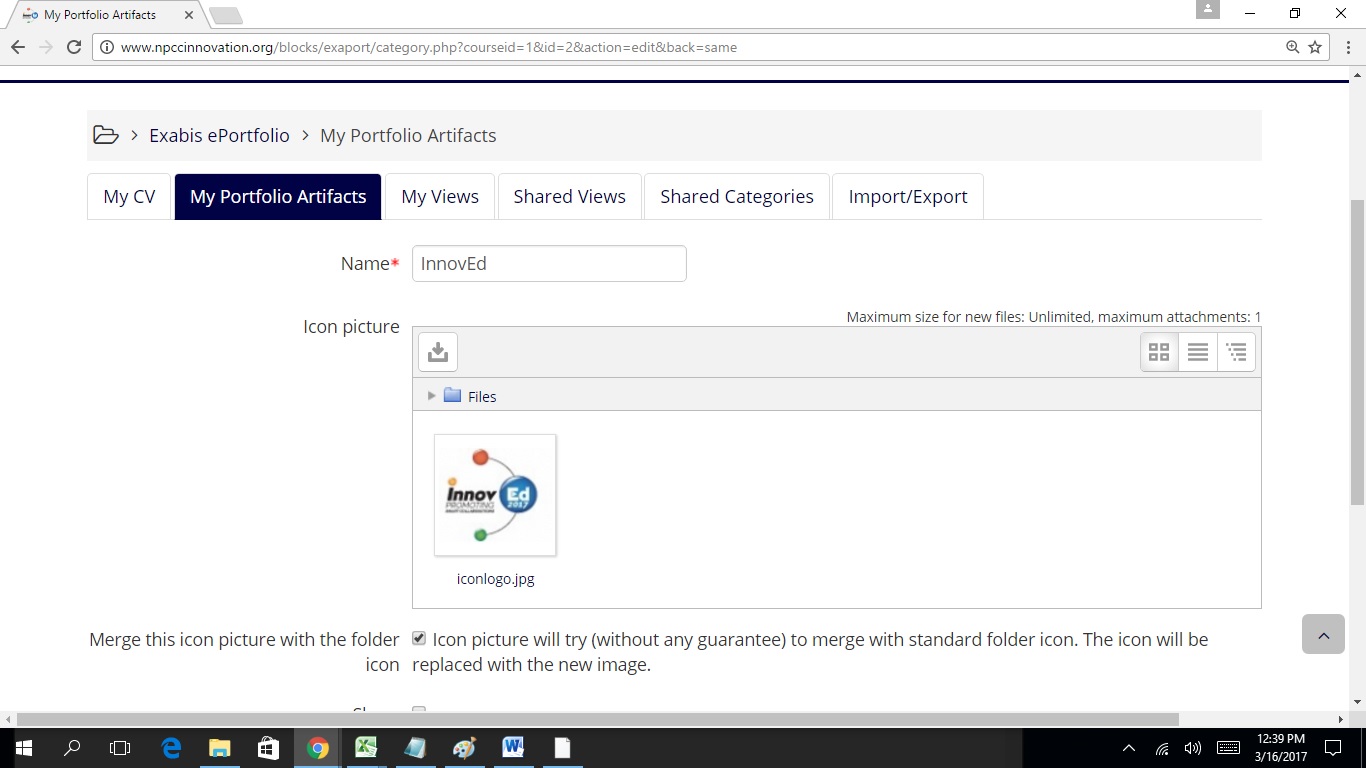
Step 8 : Add a category eg InnovEd, an icon for the folder can be inserted as well
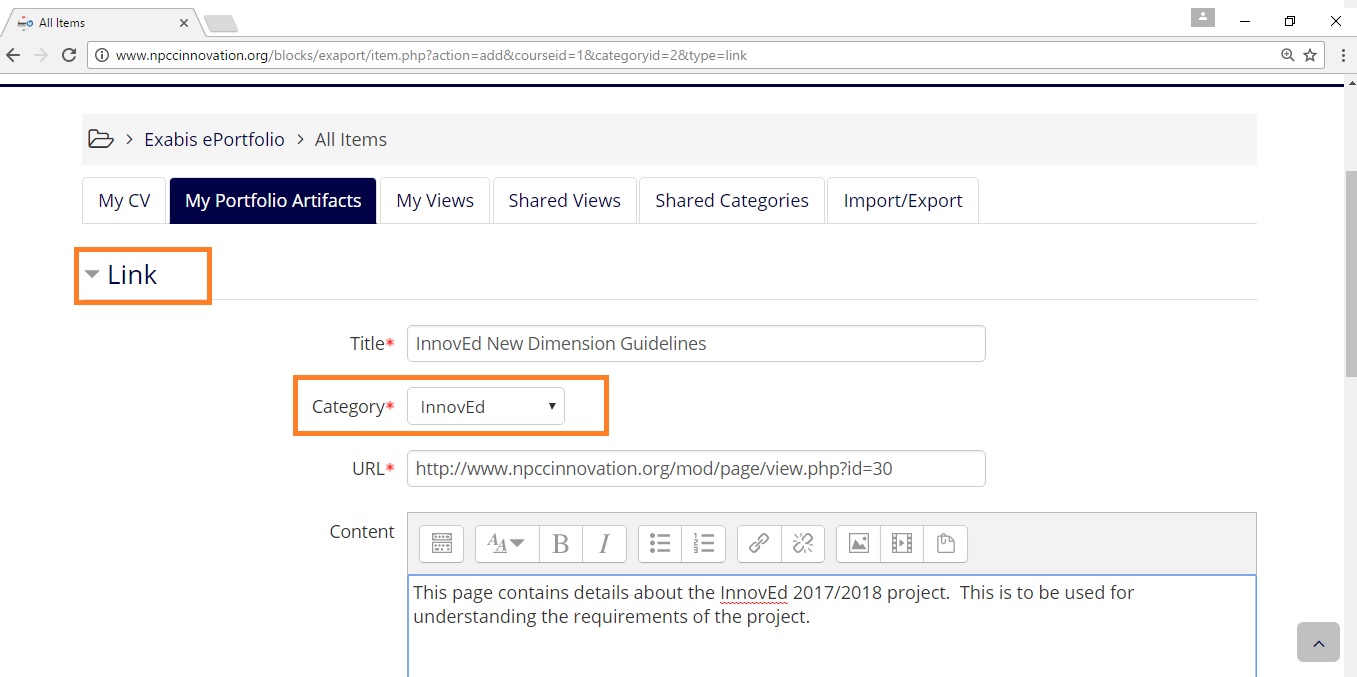
Step 9: Add a web link in your portfolio by clicking on Links and verify that 'InnovEd' is selected as category
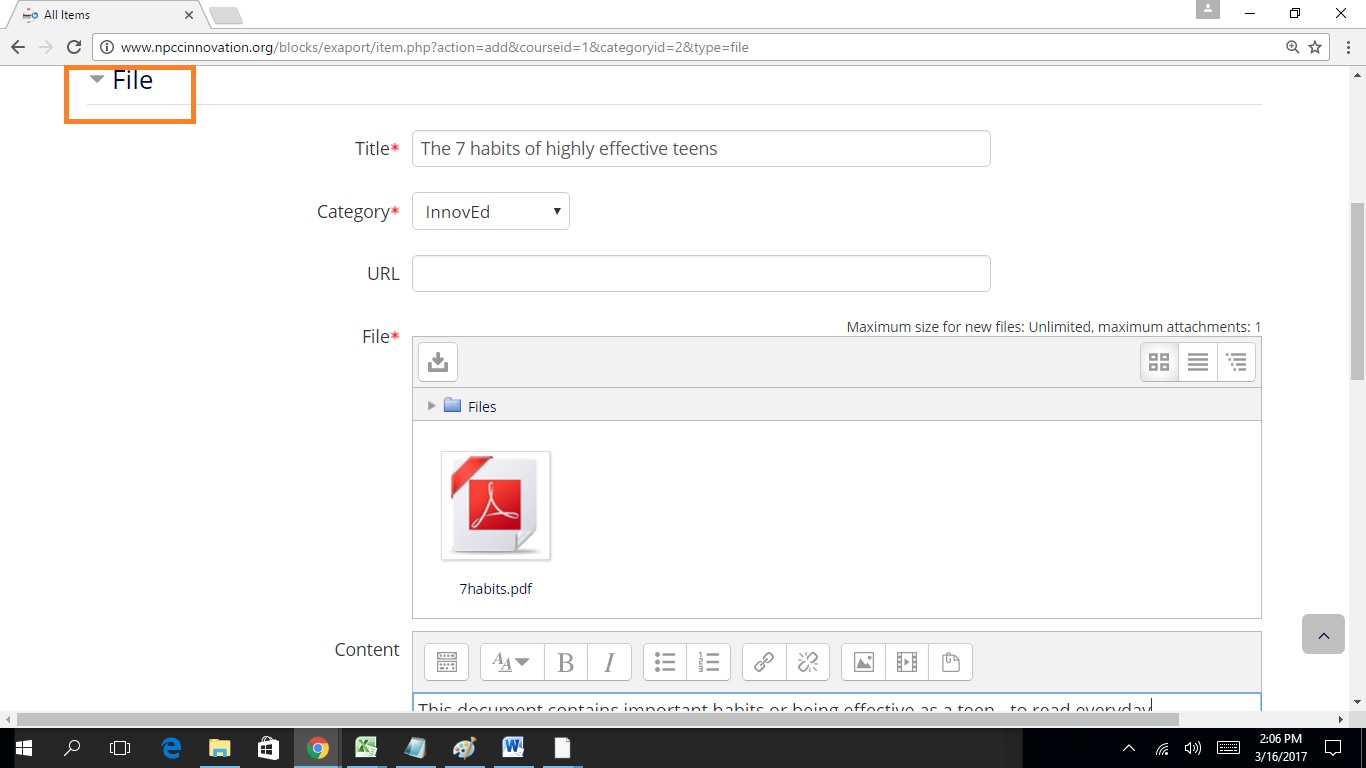
Step 10 : Add a file
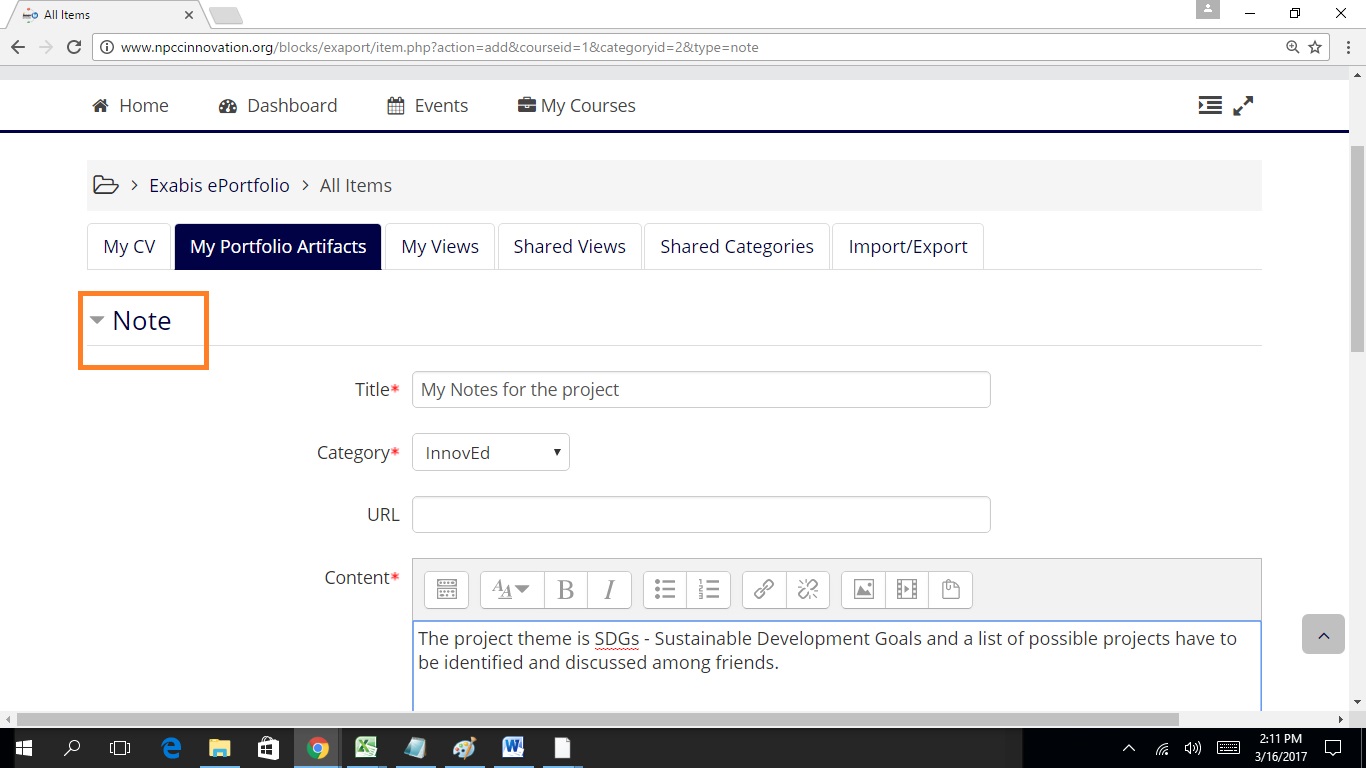
Step 11: Add a note
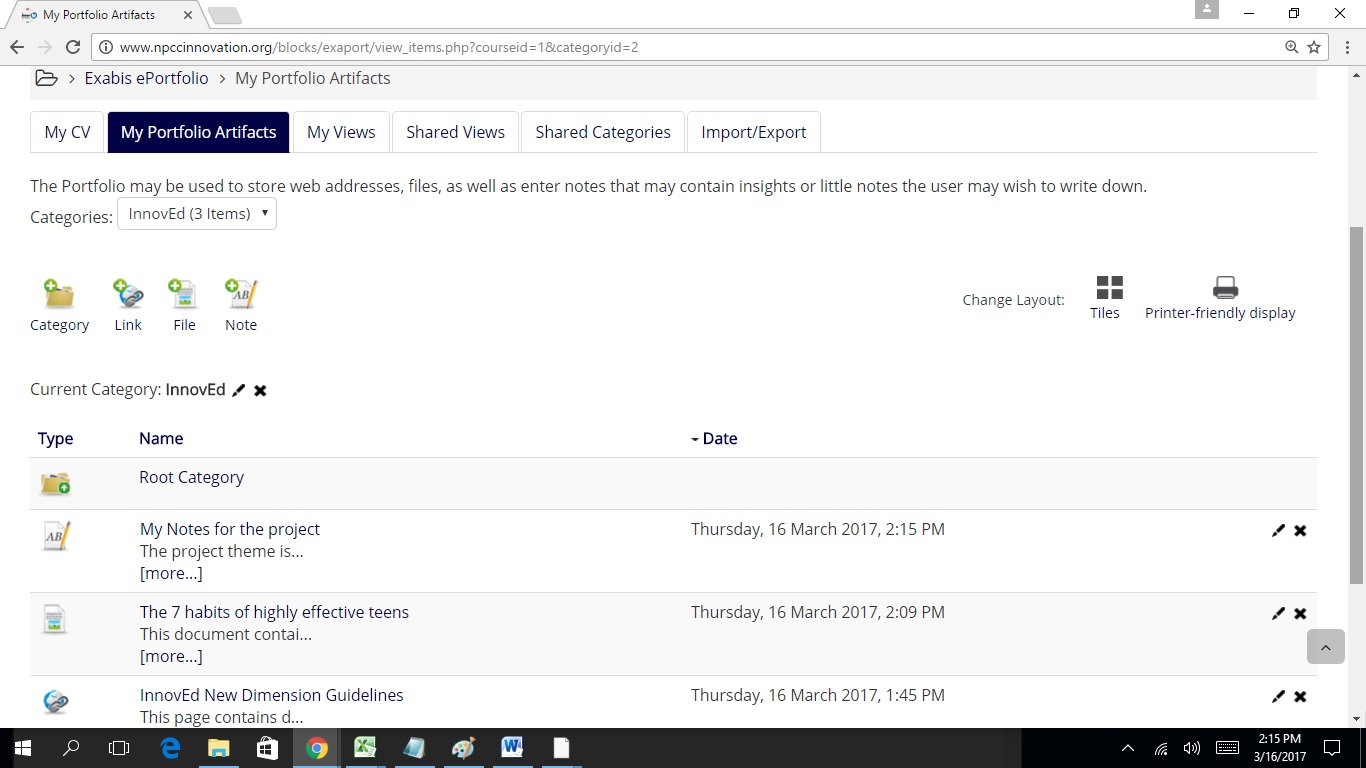
Step 12: Artifacts displayed as a list
Step 13: Artifacts displayed as tiles
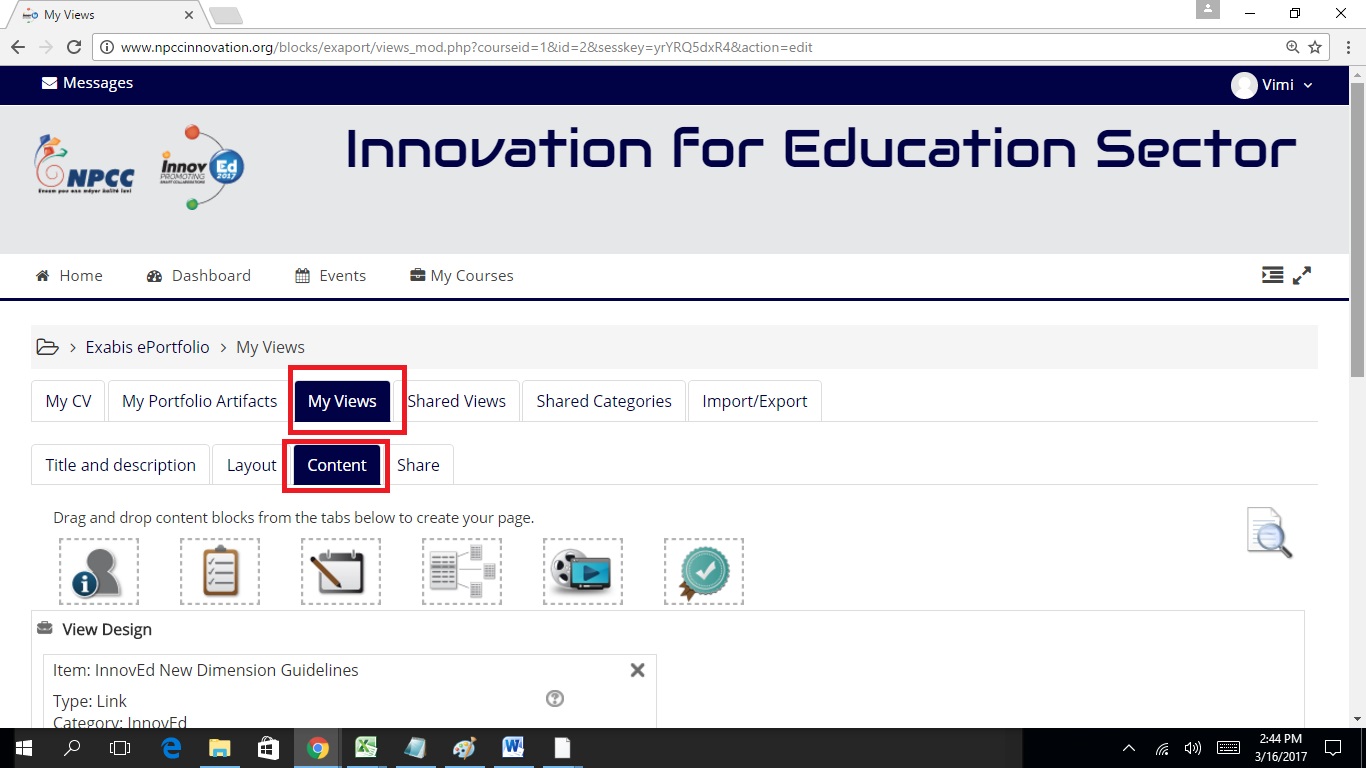
Step 14: Views
Different
artifacts can be collected within one view and published to other participants
of the course and even to all users within one Moodle-installation. Therefore,
choose the tab “Views” and click “Add view”. First of all, enter the title and
the description of the view. After clicking “Save changes” you get
automatically redirected to the content page of the view. Add personal
information and artifacts (such as notices, files, etc.) via drag & drop to
the view.
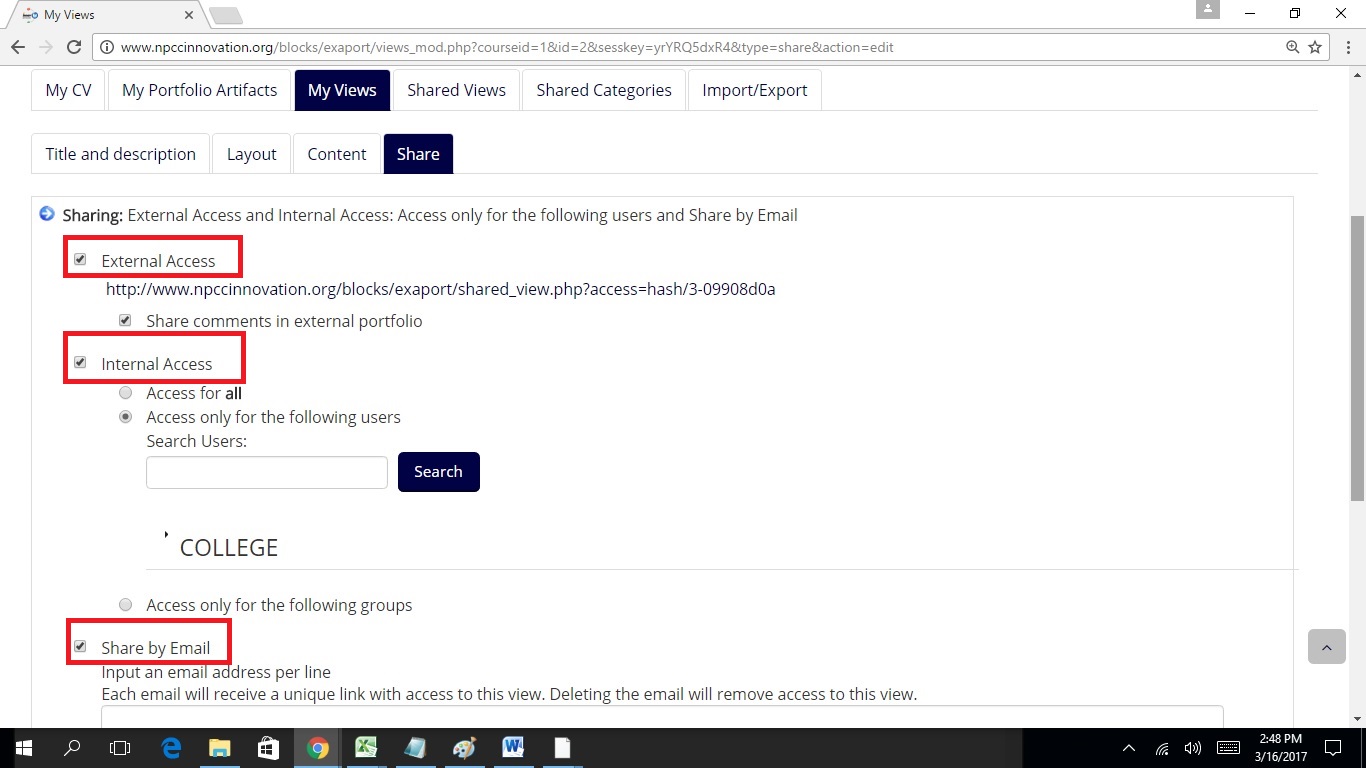
Step 15: Sharing of Portfolios
The portfolio of a student can be shared in different ways as shown below